
Video editing can feel like a magic trick—raw clips transform into stories that move, inform, and inspire. Whether you’re a budding creator or a seasoned producer, mastering the art of editing separates amateur footage from polished productions. In this guide we’ll walk you through every stage of the process, giving you the tools to edit videos like a professional and keep viewers hooked from start to finish.
Plan Your Storyboard Before You Cut

Before you even import a single clip, sketch a clear storyboard that outlines the narrative flow, key moments, and emotional beats. A visual roadmap saves hours of trial‑and‑error in the timeline and ensures every shot serves a purpose.
Use simple index cards or a digital whiteboard to map out scenes, transitions, and any on‑screen text. When the structure is solid, you’ll find the actual cutting phase far more intuitive, and the final edit will feel cohesive rather than a patchwork of random clips.
Select High‑Quality Footage Wisely
Not all footage is created equal. Prioritize clips with proper exposure, steady framing, and clean audio. Even the most skilled editor can’t fully rescue shaky, underexposed material without sacrificing visual integrity.
Organize your media into folders by scene, camera angle, or purpose. Labeling each clip with descriptive names (e.g., “interview_closeup_01”) speeds up the search process and reduces the risk of misplacing critical shots during the edit.
Master Cutting and Trimming Techniques
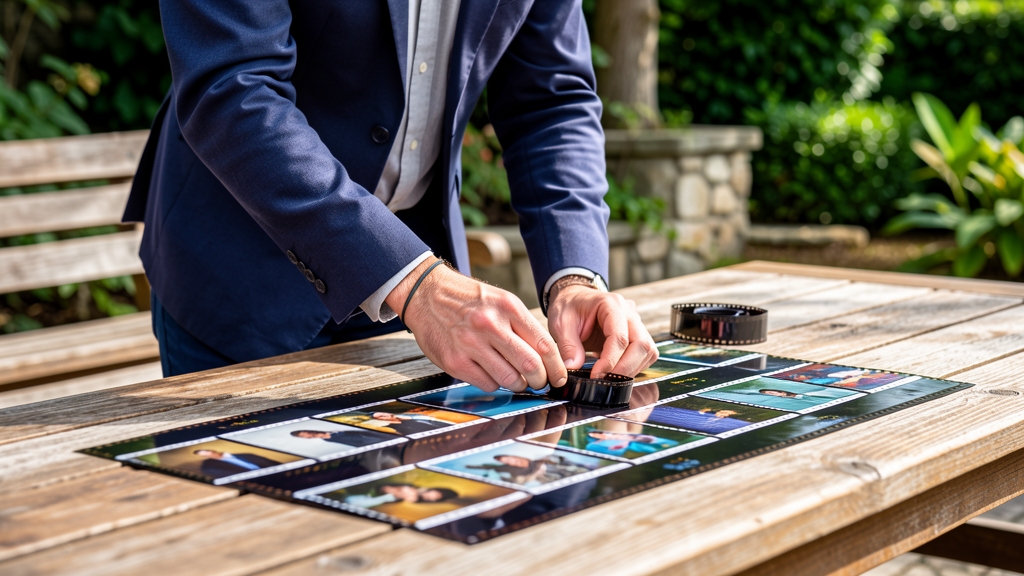
The core of any edit lies in precise cutting and trimming. Use the razor tool sparingly—aim for natural rhythm by trimming on action, eye‑line, or audio cues. This creates seamless continuity that feels organic to the viewer.
Experiment with J‑ and L‑cuts, where audio from the next scene starts before the visual cut (J‑cut) or continues after the visual transition (L‑cut). These techniques add polish and keep the narrative flow smooth, a hallmark of professional editing.
Apply Color Grading for Mood and Consistency
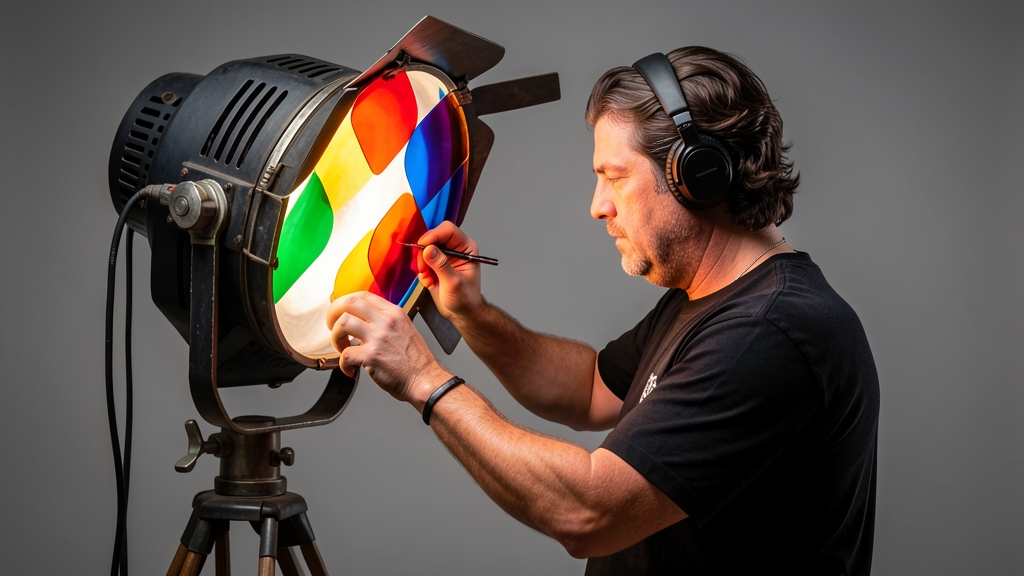
Color grading transforms raw footage into a unified visual language. Begin with primary correction—balance white balance, contrast, and exposure—so each clip shares a baseline look.
Then move to creative grading: choose a palette that reflects the story’s tone, whether it’s warm sunrise hues for optimism or cool blues for tension. Use lookup tables (LUTs) as a starting point, but fine‑tune each scene to maintain consistency across varying lighting conditions.
Craft a Rich Sound Design
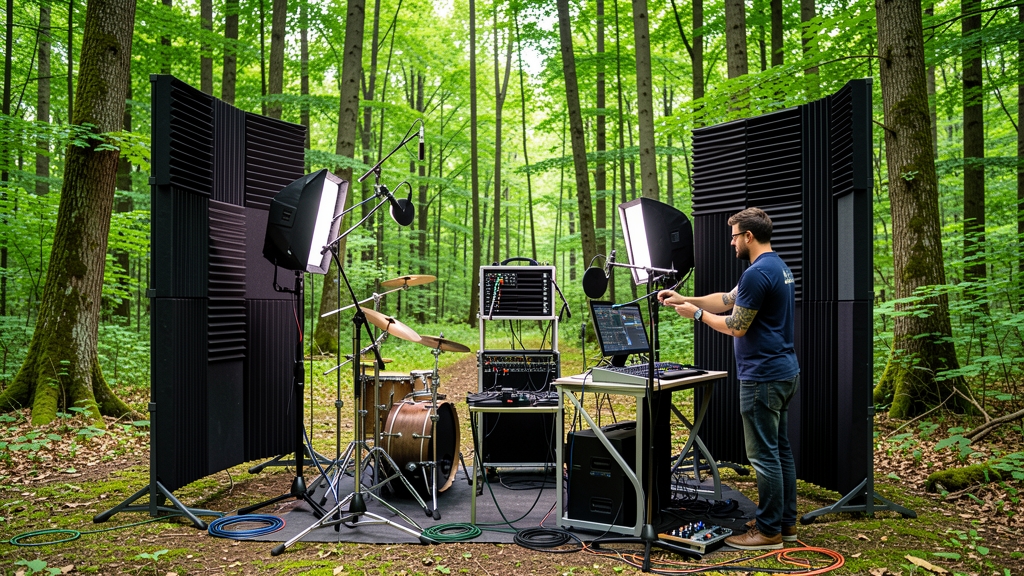
Audio is half the viewing experience. Clean up dialogue with noise reduction tools, then layer ambient sounds to add depth—footsteps, wind, or distant traffic can ground the scene in reality.
Mix music and effects at appropriate levels, using ducking to ensure dialogue remains clear. A well‑balanced soundtrack elevates the emotional impact and makes the edit feel cinematic.
Integrate Motion Graphics Seamlessly

Motion graphics can highlight key information, but they must blend with the live‑action footage. Keep animations simple, use the same color palette from your grading, and time them to the beat of the background music.
Employ easing curves for smooth entry and exit, and avoid overloading the viewer with too many on‑screen elements. Subtle lower‑thirds, title cards, or animated icons can reinforce the story without distracting.
Choose Export Settings Tailored to Platforms
Exporting isn’t a one‑size‑fits‑all process. Identify the primary distribution channel—YouTube, Instagram, or broadcast—and select the appropriate codec, bitrate, and resolution. H.264 in an MP4 container is a safe default for most online platforms.
Consider creating multiple versions: a high‑resolution master for archiving and a compressed web‑ready file for quick sharing. Proper naming conventions and metadata ensure the video is searchable and organized for future reuse.
Review, Refine, and Get Feedback
The final polish comes from critical review. Watch the edit on different devices—desktop, tablet, and phone—to catch any inconsistencies in color, audio, or pacing. Take notes on moments that feel jarring or out of sync.
Invite fresh eyes—colleagues, friends, or a test audience—to provide objective feedback. Incorporate constructive criticism, tighten any loose cuts, and finalize the project with confidence that it meets professional standards.
Editing videos like a professional blends technical skill with storytelling intuition. By following these structured steps—from pre‑production planning to final export—you’ll produce content that resonates and stands out. Ready to accelerate your workflow? Try DesignStager’s AI‑powered design and presentation tools to streamline editing, add stunning visuals, and bring your video projects to life faster than ever.